Get started with Snapshot
Snapshot provides a suite of tools for capturing images, from webcams, from screengrabs and by drag and drop. These tools can be attached to buttons in the dashboard toolbar, for example, for use by Administrators. Each tool is also available through an associated block for use on your site pages by any user with permission.
For now, we will look at using the Screengrab tool from the dashboard toolbar. Other tools have similar settings for the toolbar and for blocks, though you will also need to look at Permissions for any other than Administrators.
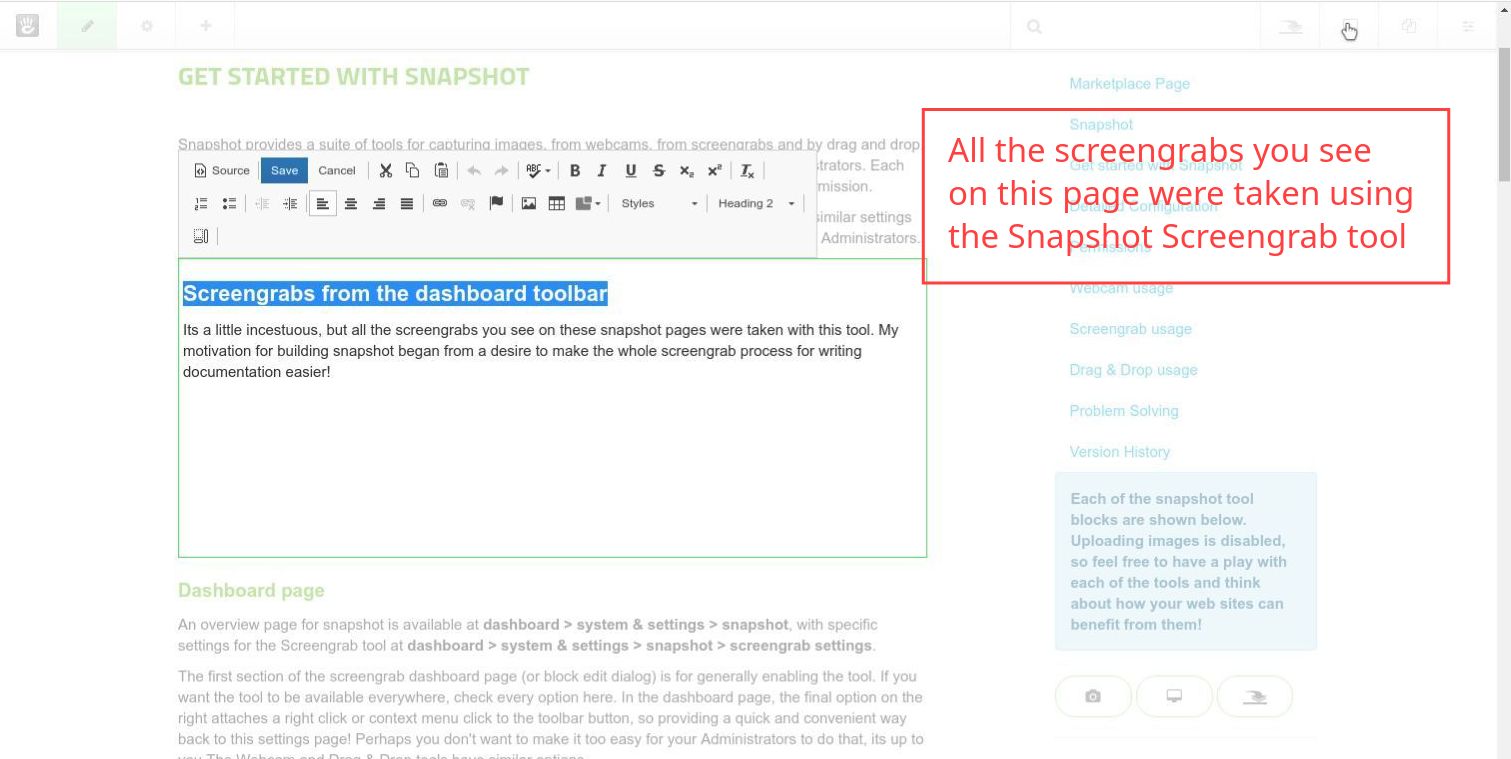
Screengrabs from the dashboard toolbar
Its a little incestuous, but all the screengrabs you see on these snapshot pages were taken with this tool. My motivation for building snapshot began from a desire to make the whole screengrab process for writing documentation easier!
Dashboard page
An overview page for snapshot is available at dashboard > system & settings > snapshot, with specific settings for the Screengrab tool at dashboard > system & settings > snapshot > screengrab settings.
The first section of the screengrab dashboard page (or block edit dialog) is for generally enabling the tool. If you want the tool to be available everywhere, check every option here. In the dashboard page, the final option on the right attaches a right click or context menu click to the toolbar button, so providing a quick and convenient way back to this settings page! Perhaps you don't want to make it too easy for your Administrators to do that, its up to you.The Webcam and Drag & Drop tools have similar options.
The last checkbox "Enable capture of edit mode panels and dialogs" is specific to the screengrab tool in the dashboard. With this option checked the toolbar button will be floated above any modal dialogs, so you can even take screengrabs of edit dialogs and other modals.

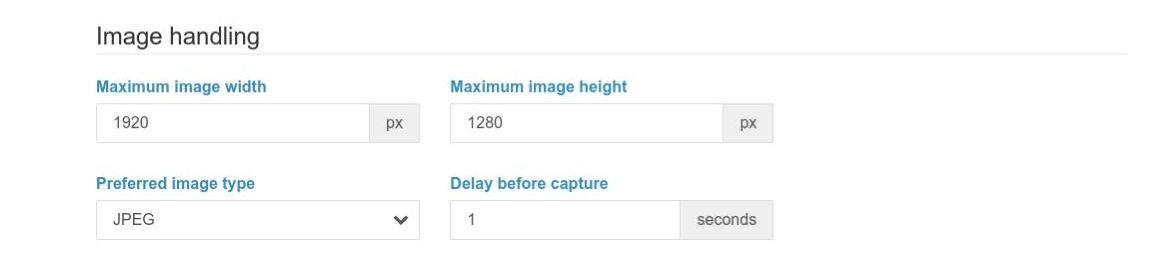
Image Handling
This is all fairly self explanatory, simply set the maximum image dimensions of a screengrab and the preferred file format. I have used 1920 x 1280 because that is the size of my monitors.
The screengrab specific functionality is the delay before capture. The first click of the screengrab button will trigger the browser dialog to enable the tool and select the screen or window to capture, subsequent clicks will then run a countdown allowing you to reposition the cursor, open select dropdowns or other funtionality you need to demonstrate. 1 second is a convenient value for most uses, but sometimes you may want a longer countdown.
Toolbar
Once a screengrab is taken, a toolbar will be shown with editing and upload buttons. The options in this section control which functions are available. The image below shows options for the Screengrab tool.
The options for the Webcam tool are a little more complex because they also provide controls to select between multiple cameras such as front/back, whether a mirrored image is shown (useful for self-facing webcams), and when an image is snapped from a webcam preview.

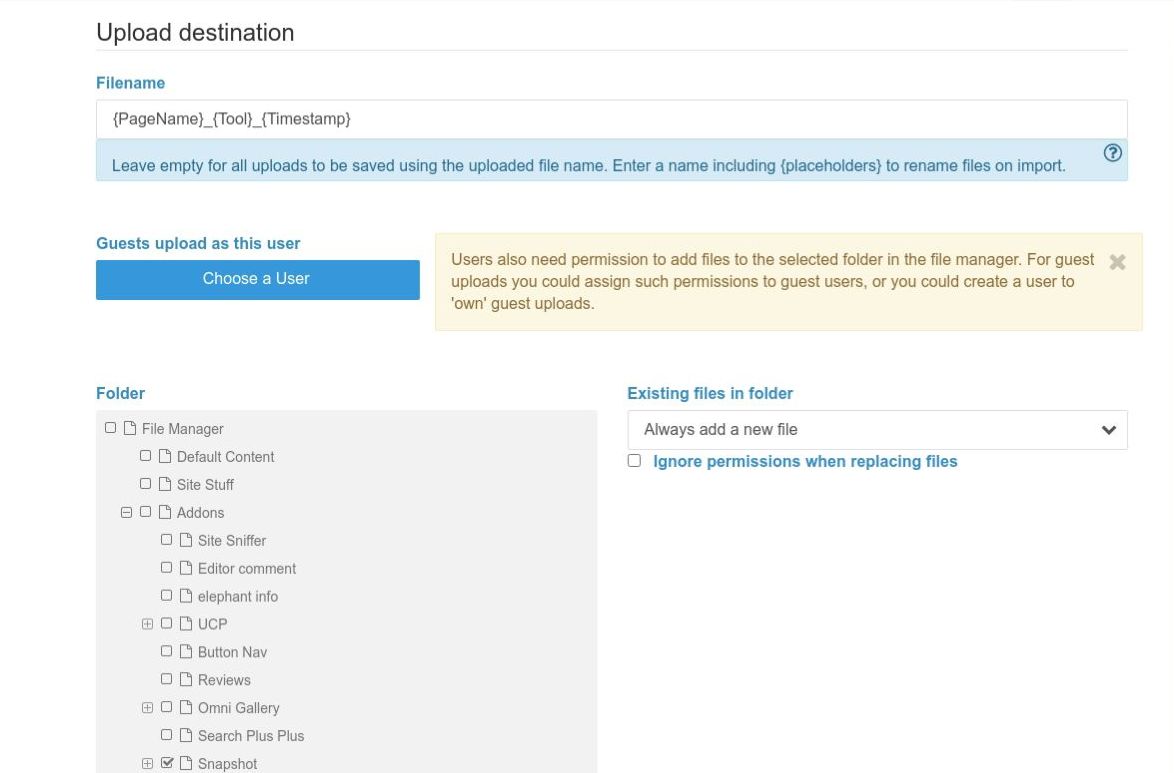
Upload Destination
By deafult, images will be upoloaded with the name proivided by the tool. For screengrabs, this is screengrab.jpg. The first text field is for naming uploaded files and can contain a mixture of text and placeholders.
To get started and make your first screengrab, I suggest you leave this empty and have a play with screengrabs with the default name.
In our screenshot you can see the settings used when making screengrabs for these pages. {PageName}_{Tool}_{Timestamp}. These should be self explanatory. You can see the full list of placeholders by clicking the icon. The list of placeholders is also shown on the detailed configuration page.
If you make a snapshot tool available to guest users, you can have finer control of permissions than a global guest user by selecting a user in "Guests upload as this user". This isn't relevant to the dashboard tools, but the dashboard settings are also used as the default settings for blocks. For now, leave this unselected.
We then select a parent Folder for uploads. A user will need Add Files permission in the file manager for uploading to this folder.
To the right of the folder selection is a select control for how existing images are replaced. For now, leave that empty. More details can be found on the detailed configuration page.
Beneath the parent Folder, we can then configure a Subfolder. Options are similar to naming files, save that a "/" character is used to descend further. Again, leave this empty for now.
Next you have the option to add files to one or more Filesets. You can use checkboxes for existing filesets or a string with {placeholders}.The only option actually needed is to choose a Folder. Filenames, Subfolders and Filesets are entirely optional and should be left empty for now.
Take care when you do start using Subfolder and Fileset {placehodlers}. Careless use can easily result in a profligation of extra filesets and folders that you don't really want and clutter up your file manager.

Security
We now come to security options. These interface to core security tools. When a check fails, an upload will be rejected.
You can safely leave these empty for most sites. Their main application is for when you have untrusted users or allow guest access.
For allowing access to snapshot tools by any other than Administrators, see permissions.

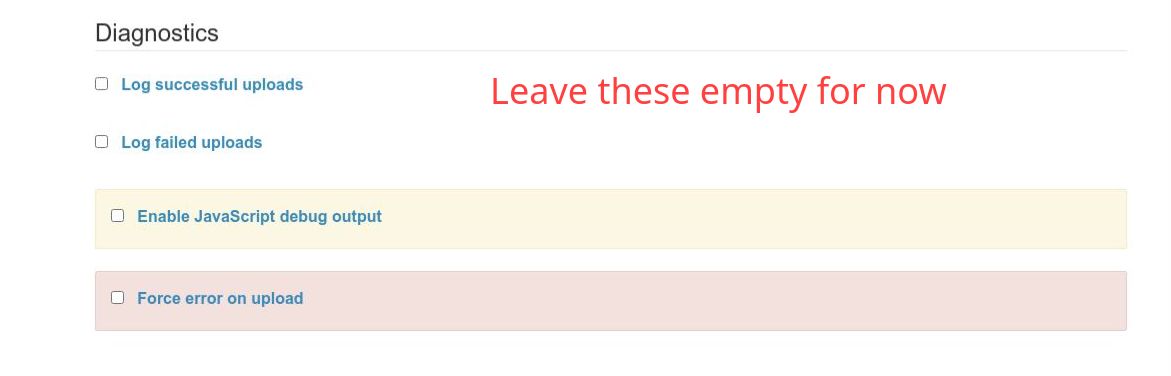
Diagnostics
Finally we come to diagnostics. The options here are self explanatory. Logging can be useful to keep track of who is uploading what.
The debug output is mainly for my benefit as a developer, but is also something I may ask about in a support request. Forcing error on upload is there for testing the front end dialogs.
Leave all these unchecked for now.
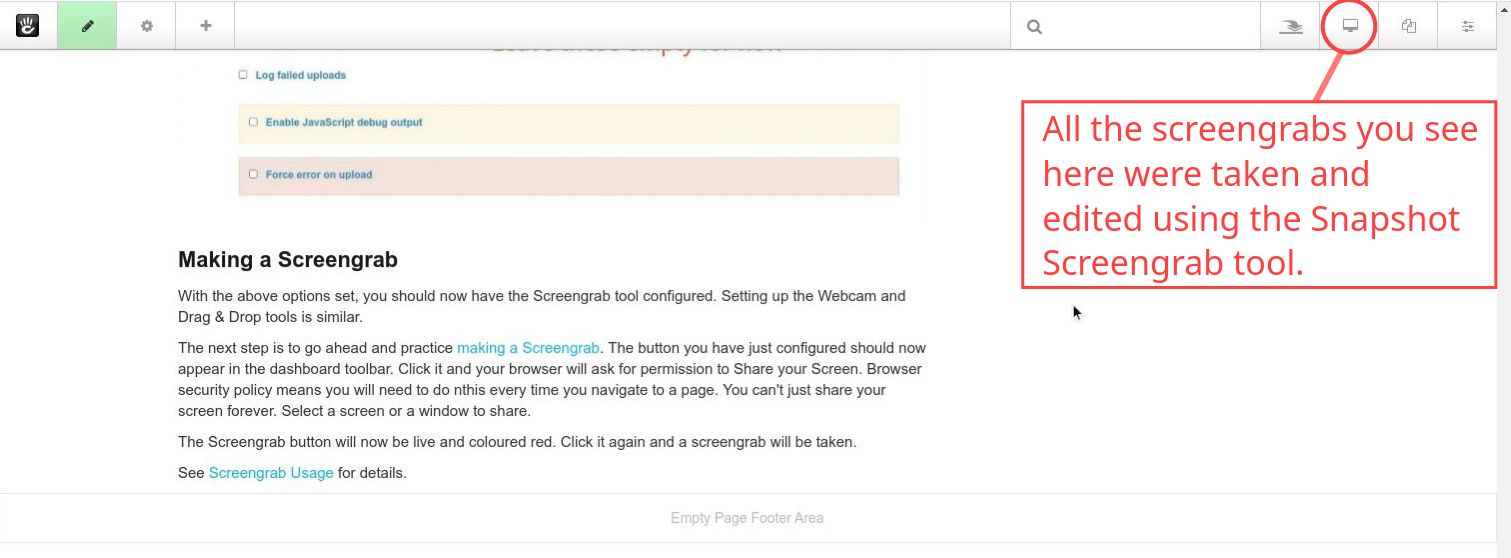
Making a Screengrab
With the above options set, you should now have the Screengrab tool configured. Setting up the Webcam and Drag & Drop tools is similar.
The next step is to go ahead and practice making a Screengrab. The button you have just configured should now appear in the dashboard toolbar. Click it and your browser will ask for permission to Share your Screen. Browser security policy means you will need to do nthis every time you navigate to a page. You can't just share your screen forever. Select a screen or a window to share.
The Screengrab button will now be live and coloured red. Click it again and a screengrab will be taken.
See Screengrab Usage for details.